This is a guest post I did a few weeks ago for Sugar Bee Crafts. Enjoy!
Hi, my name is Stephanie and I blog over at Livin’ the Dream. I am a stay-at-home Mommy to a precious baby boy, and a wife of 5 years. I discovered my crafty side a few years back, and would love to share my stories, crafts, and recipes with you.
For this craft you only need a few items:
- A papercrafted letter, cardboard letter, or wooden letter
- 2 pieces of scrapbook paper
- Mod Podge
- Scissors/ X acto knife
- White paint
- Foam brushes
- Other various accessories for display
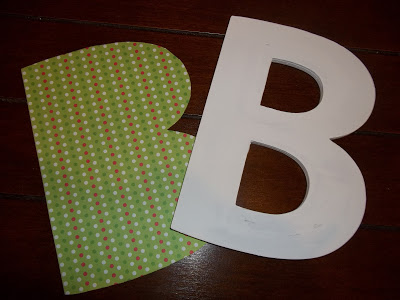
I took all of my materials and layed them out.
First of all, I painted the letter, so that any part not covered in paper would be white. I went ahead and painted the whole letter, just in case. I just bought some white acrylic paint and used a foam brush to put it on.
Then, I let each side dry. The good thing about this type of paint is that it dries quickly.
Next I traced each side of the “B” onto the scrapbook paper. Make sure you trace it onto the back of the paper, and that it is flipped the correct way so it’s facing the right direction.
Trace both sides, and then cut it out. For the large sections I just used scissors.
Then for the inside of the “B”, I used my handy-dandy (pink!) X-acto knife.
Lay the paper over your letter and trim off any excess.
Do the same with the opposite side.
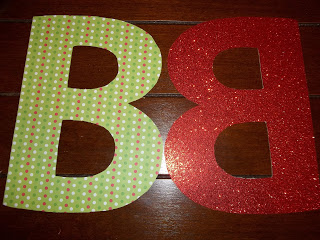
You should have two pretty equally shaped scrapbook letters…Don’t you just love the glittery one?!
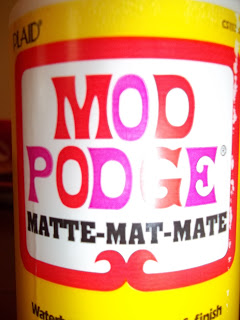
Then take some of every crafter’s best friend…Mod Podge…and put a light coating over the entire letter.
I didn’t take a picture of this step, because you couldn’t see it over the white paint. Just make sure it’s a light coating, and lay your letter down and press firmly. Let it dry for maybe 15 minutes.
Then, just do the same to the other side.
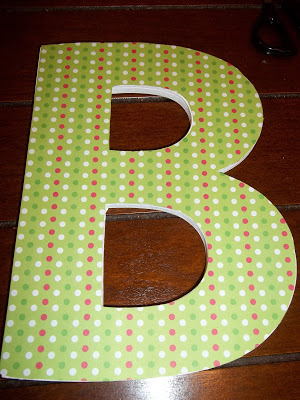
Up close, you shouldn’t be able to see any overhang on either side…
If you do, go ahead and run your x-acto knife around and slice those little over hangers off of there!
Then, make a little display out of your lovely, christmas-y letter.
This is on my bookshelf. I like how simple and clean it looks.
I also set it up on my console table, so that the whole letter is a little more visible. (Can you guess what my last name is between the letter, and the decor next to it?)
I also had to include a picture of the back, so you can see how fun and sparkly it is. Next time, I may have to use the glittery paper on the front. I may need to make one for every holiday. I’m crazy for monogrammed anything.
Also, I like the cleaner look of it, but go ahead and go crazy and embellish it if you so choose. There are all kinds of things you could add to make it a little more festive.
I’m pretty sure I may even have some ribbon trees that would go lovely with it.
{You can see what I actually ended up doing with this letter HERE.}
Thank you so much for letting me share my craft with you. Feel free to come on over to Livin’ the Dream and check out some more of my crafty posts. Like my
Or my Lil Ribbon Tree
I also post a lot of recipes and just stories of my experiences in being a new mom of a baby with craniosynostosis. Come join me, I’d love to hear from you!
Linking:


